

Summertime fun! I felt like I was back at 4-H camp when I had the pleasure of taking a one day seminar on indigo dying at Barnsdall Art Park. Our instructor sent us an email ahead of class with a link to her pinterest board for ideas on what to do with our fabric. There were fourteen people registered for the class, so we had a nice group to chat with as we worked. We were advised to bring rubber gloves to wear and natural fiber fabrics to dye in class.
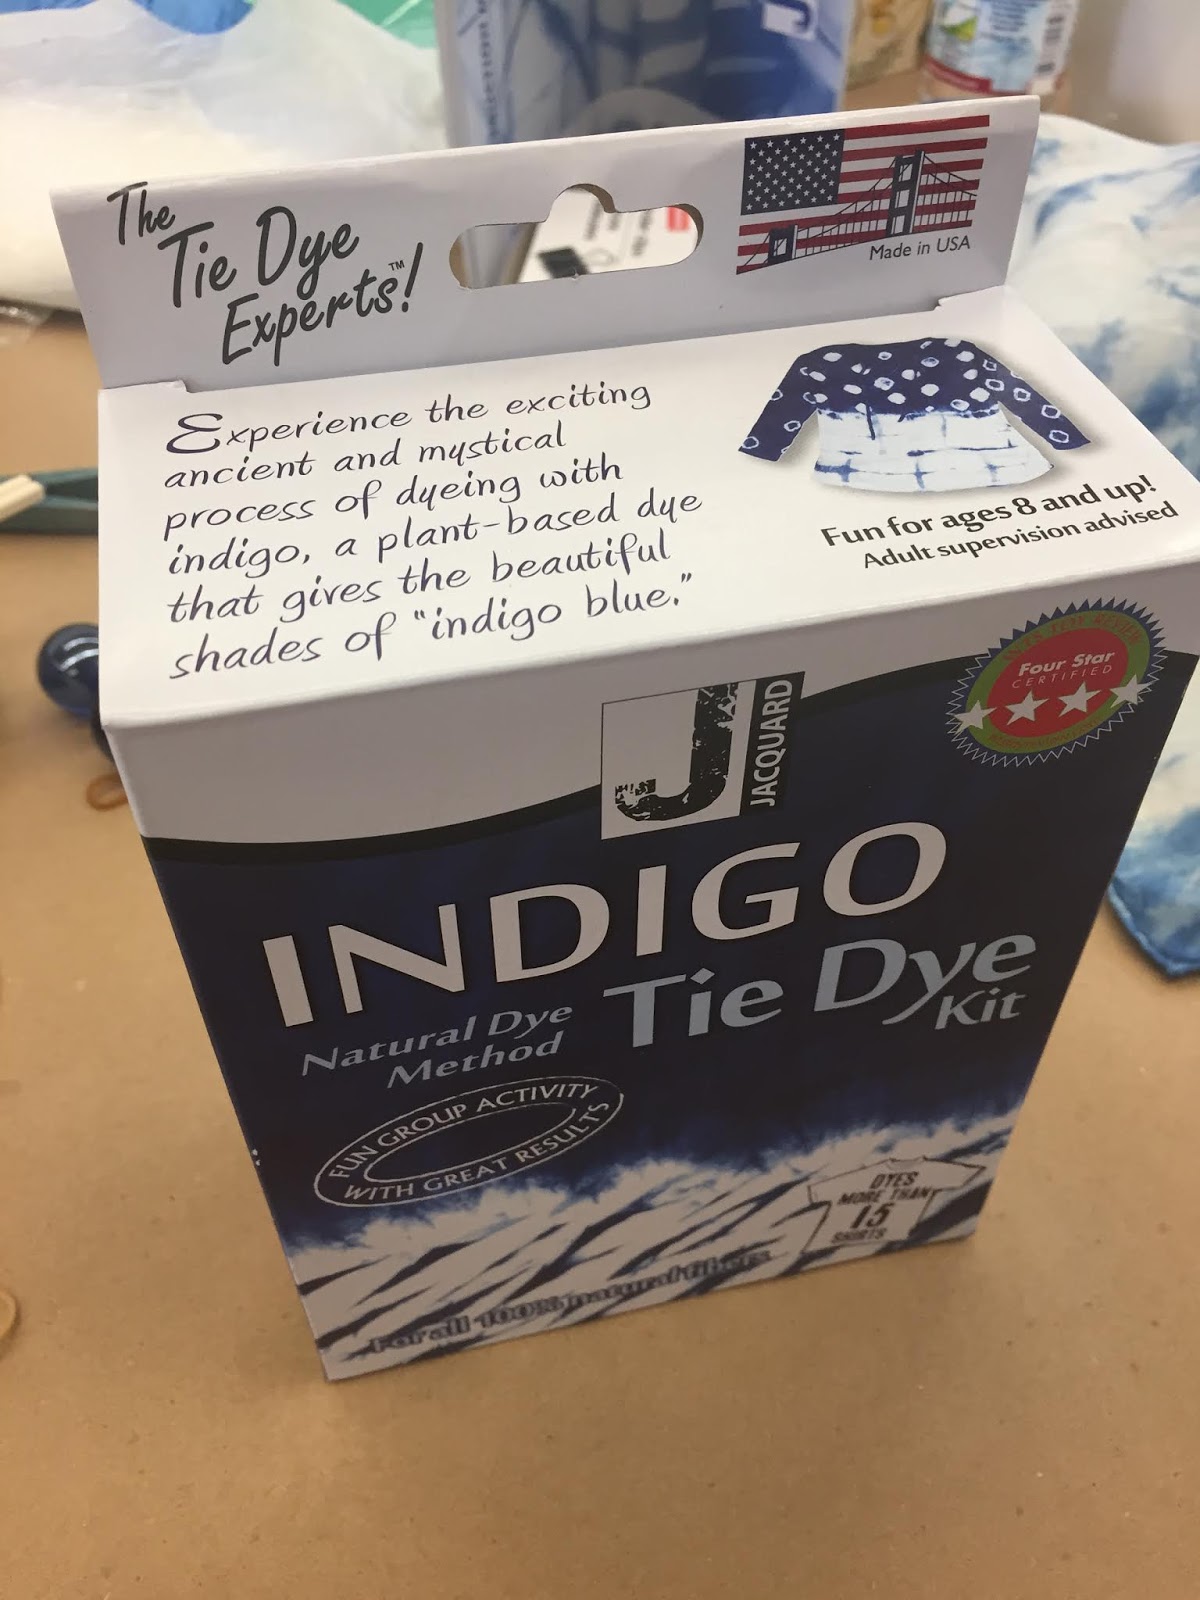
Indigo is one of the oldest dyes used for coloring textiles and the one still used today to color denim jeans. Indigo comes from a plant thorough a process of fermentation. The dye that we used came in a kit, and the instructor had it pre-mixed to be ready for us. This saved time as the dye has to sit for about an hour once mixed before being used. The solution was made of dye powder, sodium carbonate, and sodium hydrosulfite. The prepared dye is a yellow-green color. When the fabric is removed from the dye vat it is initially this same color, but as the oxygen in the air reacts with the indigo, the color will turn blue. As the indigo oxidizes it becomes trapped within the fibers, making the dye permanent.
Indigo is one of the oldest dyes used for coloring textiles and the one still used today to color denim jeans. Indigo comes from a plant thorough a process of fermentation. The dye that we used came in a kit, and the instructor had it pre-mixed to be ready for us. This saved time as the dye has to sit for about an hour once mixed before being used. The solution was made of dye powder, sodium carbonate, and sodium hydrosulfite. The prepared dye is a yellow-green color. When the fabric is removed from the dye vat it is initially this same color, but as the oxygen in the air reacts with the indigo, the color will turn blue. As the indigo oxidizes it becomes trapped within the fibers, making the dye permanent.

A trip to the thrift store yielded a white shirt with some cute ruffles for just $5. Turns out to be a trendy brand, HandM. When I bought it I couldn't find the tags stating material, but luckily it was an all natural cotton fabric that would take the dye.

Our instructor had chopsticks, corks, marbles, small boards, yarn, rubber bands, and water bottles that we could use to tie or embellish the fabric before dying.The fabrics have to stay in the bath for about thirty minutes, and our class was only four hours long. After an initial lecture/intro of about forty five minutes, we were left with limited time to creatively prep our items.

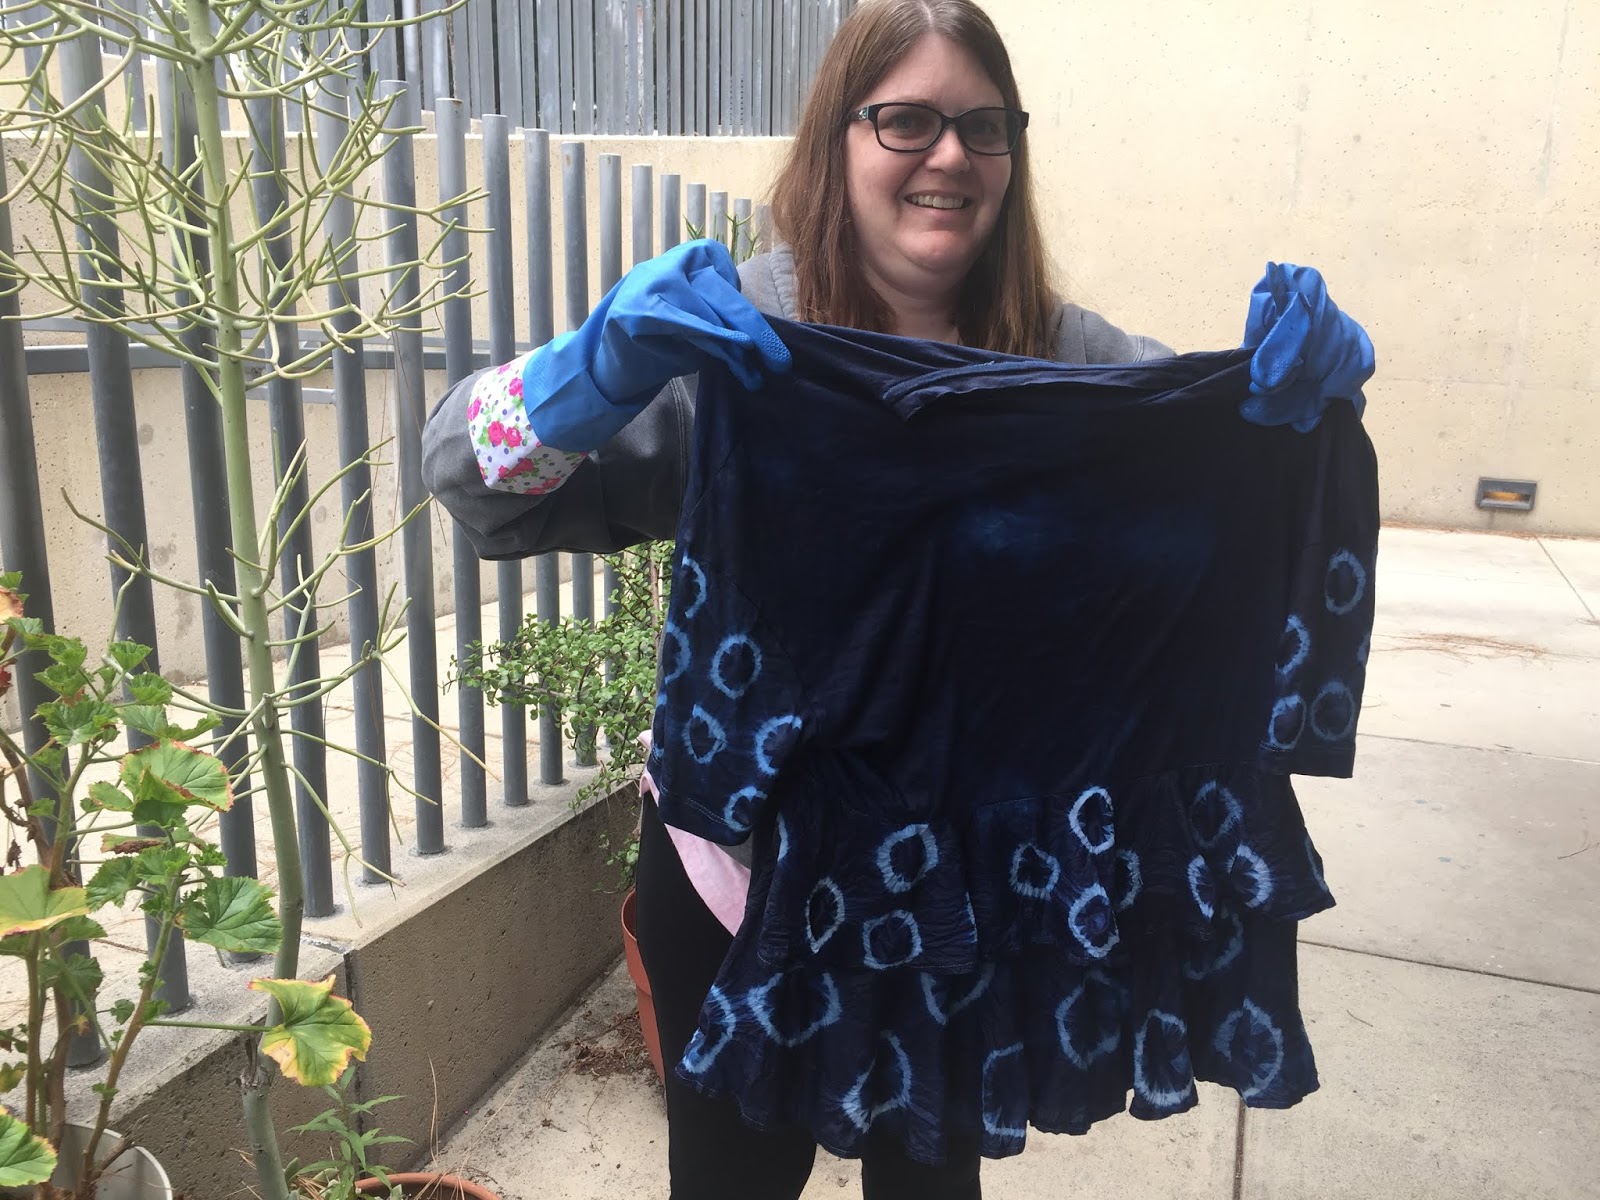
I chose to focus on the ruffles of my shirt first. I used small marbles on the top ruffle, and larger ones on the bottom, wrapping them with rubber bands. It took longer than I would have thought to put so many details on the fabric! I then focused on the sleeves, adding the same small marble circles there. I wanted to do something fancier to the main front of the shirt but ran out of time. Frankly, that's probably a good thing. I would have muddled the design by overcomplicating it. And the places where I put accents will draw attention to the right areas of my body, rather than adding somethign weird to my bustline.

The instructor put our items in to the dye bath by slowly sliding them in along the side of the bucket, to avoid oxygenating the pool of dye. After sitting in the covered bucket of dye for the required length of time, the items were wrung out carefully as they were removed from the bucket. This is where I needed my gloves, as I had to use an envelope cutting tool to remove all the rubber bands holding the marbles. It actually took quite a while to fully open the fabric! Being exposed to the air for about twenty minutes allowed time for the oxidization to take place. The instructor advised to lay the items out to fully dry at home, then to wash in a washing machine once or twice with rags to make sure all the extra dye is rinsed out. After that, the item should be completely color safe and free to wash with any other items.
I'll be wearing this shirt in just a few weeks on fourth of July!

I had time to quickly do a second project in the class. One of the students was a theater kid who had brought a bolt of silk from his stock that he was kindly sharing. I took a piece long enough to wrap around me. I had very little time to prep this one, and wanted to try something different. So I folded the material into a smallish square, about nine inches. Then I used rubber bands to secure four sets of chopsticks around the square in a diamond shape. I was hoping I could twist the center into a rosette, but found there wasn't enough slack to do so. So I ended up utilizing a marble on each side of the fabric and left that for center texture.

The finished silk fabric came out beautifully! the inner layers were lighter blue than the layers closest to the outside of my "package." I'll look forward to sewing this silk into a wrap or table runner soon.


wow ! I am so glad you had fun. Thank for the post. Your pieces are beautiful.
ReplyDelete